
Baking a cake is both an art and a science, requiring careful attention to detail and a touch of creativity. From preparing the cake pan to applying the finishing touches, each step is crucial to achieving that perfect bake. In this guide, we’ll explore essential techniques and tips for creating a delicious and beautifully presented cake. Whether you’re a novice baker or looking to refine your skills, these insights will help you navigate the process with confidence and ease.
Key Takeaways
- Loosening the cake from the sides of the pan right after baking and using gravity to address sticking issues are key steps in preparing the cake pan.
- Cooling the cake on a wire rack to avoid sogginess and brushing with simple syrup are essential for a moist and perfect cake texture.
- Mastering the reverse creaming method can lead to an evenly crumbed cake that’s ideal for stacking and decorating.
- Troubleshooting common issues, such as a soggy bottom or uneven layers, is crucial for a consistently good bake.
- Choosing the right frosting and experimenting with new variations can elevate the overall presentation and flavor of your cake.
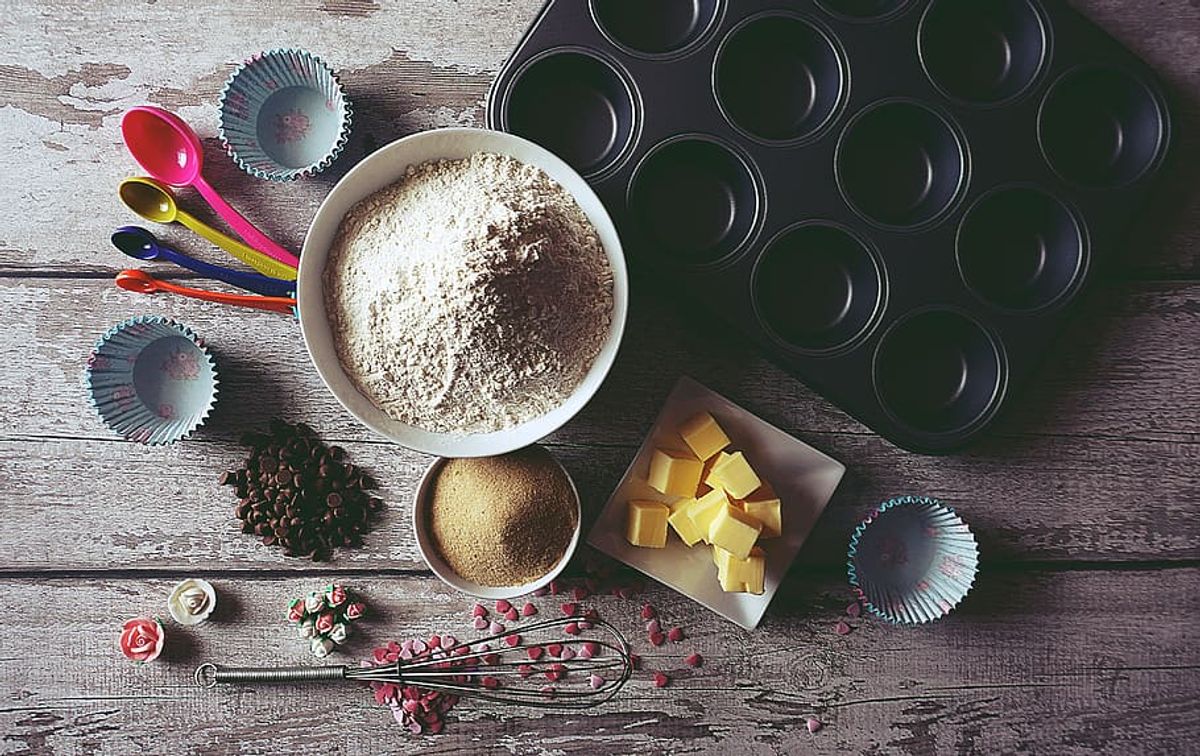
Preparing the Cake Pan
Loosen the Cake from the Sides
After your cake has finished baking, it’s crucial to loosen the cake from the sides of the pan while it’s still warm. This step ensures that your cake will release easily without sticking or breaking apart. To do this effectively, you can use a knife with a thin blade. Gently slide the knife around the edges of the cake, being careful not to cut into the cake itself. This technique helps to separate the cake from the pan without causing damage.
Remember, the goal is to detach the cake gently from the pan without compromising its structure or appearance.
If you’re dealing with a particularly sticky situation, patience is key. Sometimes, allowing the cake to cool for a few minutes in the pan can make the loosening process smoother. However, do not let it cool completely in the pan, as this could result in a cake that’s difficult to remove.
Here are a few additional tips to ensure a clean release:
- Ensure your knife is clean and sharp.
- Rotate the pan as you go to maintain an even pressure.
- If the cake still seems to stick, try tapping the pan gently on the counter.
Top the Pan with the Platter
Once you’ve loosened the cake from the sides, it’s time to place your platter on top of the cake pan. Ensure the platter is right side-down and that it’s slightly larger than the cake pan itself. This will provide enough space for the cake to release without damaging the edges.
Carefully position one hand with an oven mitt on the platter and use your other hand to support the cake pan from the bottom. This dual support is crucial for a smooth flip.
After positioning the platter and securing your grip, confidently flip both the cake and the platter over in one swift motion. It’s important to leave the cake pan on top for a few minutes to allow all the delicious toppings to drizzle back onto the cake, ensuring a moist and flavorful finish.
Let Gravity Help with Sticking Issues
After you’ve removed your cake from the oven, sometimes the cake may still cling to the pan despite your best efforts. In such cases, don’t rush to pry it loose. Instead, let gravity assist you by turning the pan upside down and allowing the cake to detach naturally as it cools. This gentle method can prevent breakage and preserve the cake’s shape.
Patience is key here. Give the cake time to cool and settle; the warmth and moisture will work to loosen the cake from the pan’s surface.
Remember, not all cakes are the same, and some might require a bit more coaxing. If you’re dealing with a particularly stubborn cake, consider these additional tips:
- Ensure that you’ve greased the pan adequately before baking.
- Use parchment paper as a non-stick layer.
- Allow the cake to cool for the right amount of time; too hot, and it may crumble, too cool, and it might stick.
By following these simple steps, you can flip your cake with ease and enjoy every bit of its deliciousness without leaving anything behind in the pan.
Cooling and Prepping the Cake
Cool It Correctly on a Wire Rack
Proper cooling is crucial for a cake’s texture and structural integrity. Most cake recipes recommend cooling on a wire rack, allowing air to circulate and prevent the cake from becoming soggy. It’s important to follow the recipe’s instructions on how long to leave the cake in the pan before transferring it to the rack. If unspecified, a general rule is to wait about 10 minutes.
Ensuring your cake cools evenly without becoming tough or moist on the bottom is a key step in the baking process.
When selecting a cooling rack, consider one that fits well within your baking pans and is stable, durable, and easy to clean. In a recent test of eight cooling racks, one stood out as particularly suitable for half-sheet pans. Remember, a good cooling rack can make a significant difference in the outcome of your cake.
Brush with Simple Syrup for Moisture
To ensure your cake remains delightfully moist, brushing it with simple syrup is a tried-and-true method used by professional bakers. Simple syrup is easy to make; just heat equal parts of water and sugar until the sugar dissolves, then allow it to cool.
When applying the syrup, use a soft-bristled pastry brush to gently coat the top and sides of the cake. This allows the syrup to seep in without making the cake soggy. Be cautious not to overdo it; a light brush is all that’s needed.
Remember, the goal is to achieve a balance where the cake is moistened without compromising its texture.
If you have any syrup left over, it can be stored in the fridge for up to two weeks. Use it to sweeten beverages like cocktails or sweet tea. Here’s a quick guide on how much syrup to use based on cake size:
| Cake Size | Syrup Amount |
|---|---|
| 6 inch | 1/4 cup |
| 8 inch | 1/3 cup |
| 10 inch | 1/2 cup |
For those facing a dry cake after baking, don’t despair. In addition to simple syrup, consider a layer of frosting, a spread of fruit puree, or a flavored liqueur to reintroduce moisture and enhance flavor.
Cool Cake Layers Completely Before Frosting
Once your cake layers have cooled, it’s crucial to let them rest completely before moving on to frosting. This patience ensures that the frosting will adhere properly and not melt from residual warmth.
Before you begin the frosting process, consider these steps to ensure a smooth application:
- Level the cake layers to create flat surfaces.
- Apply a thin ‘crumb coat’ to seal in any loose crumbs.
- Chill the crumb-coated layers to set this base layer of frosting.
Remember, a well-cooled cake is the canvas for a beautiful decoration. Rushing this step can lead to a less than perfect finish.
If you’re planning ahead, you can bake and cool the cake layers the day before. Store them at room temperature, tightly covered. The frosting can also be prepared in advance and refrigerated. Just be sure to let it soften slightly at room temperature for about 10 minutes before you start frosting the cake.
Mastering the Baking Technique
Understanding the Reverse Creaming Method
The reverse creaming method, also known as the paste method, is a technique that starts with blending the sugar and dry ingredients with butter until the mixture resembles sand. This approach creates cakes with a uniform crumb, ideal for stacking and decorating.
To begin, ensure your butter is softened and cut into small pieces. With the mixer on its lowest setting, gradually add the butter to the sugar and dry mixture, blending until sandy. This usually takes between 30 seconds and 1 minute. It’s crucial to scrape down the bowl and paddle with a spatula to ensure even mixing.
Once the base is sandy, add the wet ingredients one at a time. Start with vanilla extract, followed by room-temperature milk. After each addition, mix on low and scrape the bowl. Then, incorporate the eggs one at a time, mixing until each is fully absorbed and the batter becomes fluffy.
Here’s a simple breakdown of the steps:
- Blend sugar, dry ingredients, and butter until sandy.
- Add vanilla extract and milk, mix and scrape the bowl.
- Incorporate eggs one at a time, mix until fluffy.
By mastering this method, you can achieve a cake that not only tastes great but also has the perfect texture for your creative decorations.
Determining When the Cake is Perfectly Baked
Knowing when your cake is perfectly baked is crucial for achieving the right texture and moisture. Insert a toothpick or cake tester into the thickest part of the cake to check for doneness. If it comes out clean or with just a few moist crumbs, your cake is ready. Pay attention to the cake’s surface as well; it should spring back when gently pressed and the edges should start to pull away from the pan.
Here are some additional tips to help you determine if your cake is baked to perfection:
- Observe the color: A golden brown top is often a good indicator.
- Check the edges: When the cake starts to detach from the sides of the pan, it’s usually done.
- Listen: A finished cake will have a subtle change in sound, indicating that it’s no longer doughy in the middle.
Remember, every oven is different and baking times may vary. It’s important to get to know your oven’s quirks and adjust accordingly.
For those who prefer precise measurements, here’s a quick reference for cake doneness temperatures:
| Cake Type | Doneness Temperature (F) |
|---|---|
| Standard cake | 200-209 |
| Quick bread | 200 |
| Custard-based desserts | 180-210 |
While these temperatures provide a guideline, nothing beats the traditional methods of checking cake doneness for that perfect bake.
Flip with Ease for a Perfect Presentation
Flipping a cake for the perfect presentation can be daunting, but with the right technique, it’s a piece of cake. Size up your platter before you begin to ensure it’s large enough to accommodate the cake. A platter with slightly sloped sides or one that’s an inch or two larger than the cake is ideal. If you don’t have a suitable platter, a wooden cutting board or a cookie sheet can be a great alternative.
Once the cake is baked, the flip should be executed with confidence. Place the heatproof platter on top of the cake pan, and with a swift, steady motion, invert both. Keep the cake pan in place for a moment to allow all the delicious toppings to settle back onto the cake.
Remember, practice makes perfect. Don’t be discouraged if your first flip isn’t flawless. Each attempt will bring you closer to that show-stopping cake presentation.
For those who love a good upside-down cake, such as the popular Caramel Apple Upside Down Cake, the flip is a crucial step. It reveals the beautifully caramelized fruit that makes these cakes so irresistible.
Troubleshooting Common Cake Issues
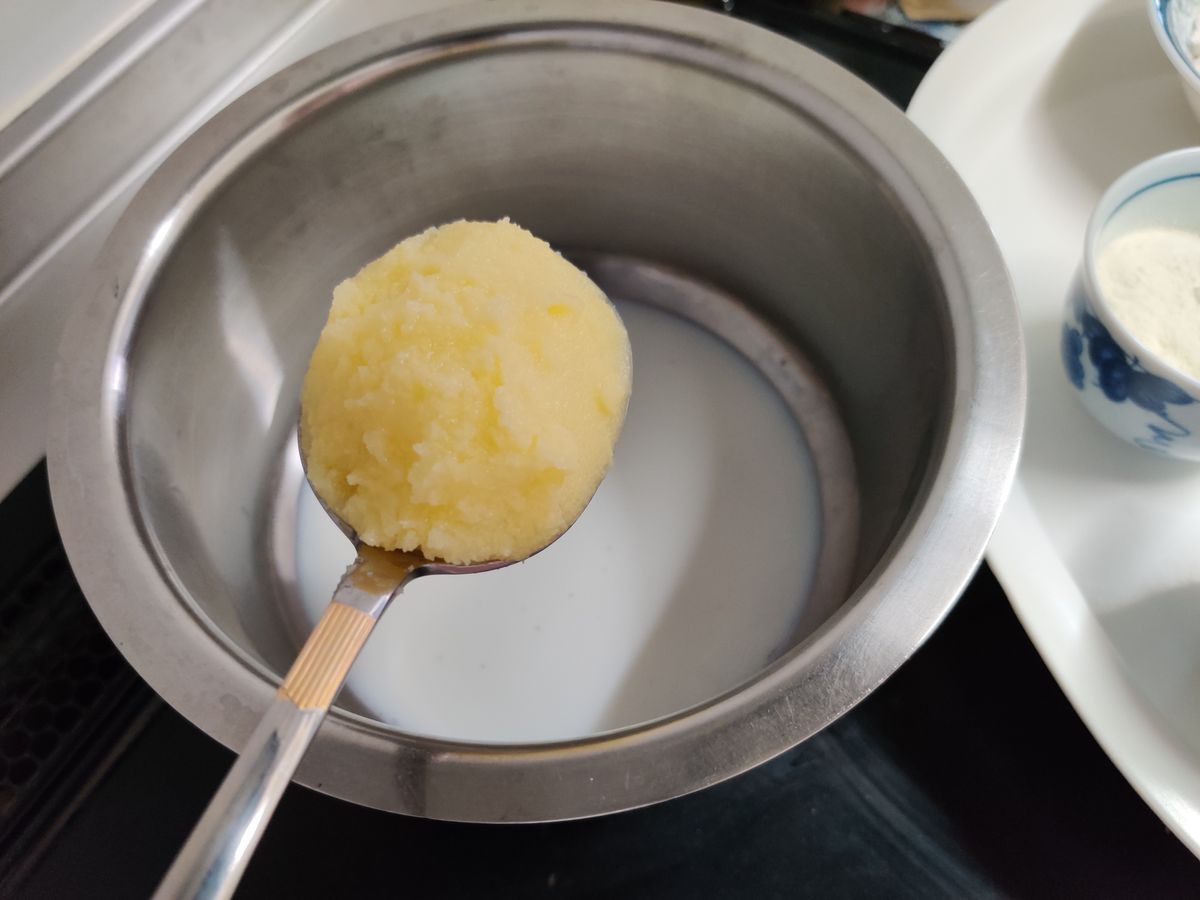
Why is My Pineapple Upside Down Cake Soggy?
A soggy Pineapple Upside Down Cake can dampen the spirits of any baker. The right amount of liquid is crucial; too much can lead to a wet, unappealing texture. When preparing the batter, combine the pineapple juice with enough water to total one cup, rather than adding all the water the recipe calls for in addition to the juice.
Ensuring your cake is fully baked is another key step. Don’t rely solely on the baking time suggested; use the toothpick test to check for doneness. If the toothpick comes out clean, your cake is ready to come out of the oven.
Flipping the cake should be done with care. After inverting the cake and platter, leave the pan on for a short while to let the brown sugar topping drizzle back onto the cake, enhancing its flavor and moisture.
Remember, a perfect Pineapple Upside Down Cake is all about balance and precision. Paying attention to these details will help you avoid the dreaded sogginess and achieve a deliciously moist and flavorful dessert.
Ensuring Even Cake Layers
Achieving even cake layers is crucial for a professional-looking cake. Weigh your batter to ensure each pan has an equal amount, leading to uniform baking and a symmetrical cake. Use a kitchen scale for accuracy.
To avoid the dreaded dome, which can make layering difficult, wrap the outside of your cake pans with wet towel strips or use baking strips. These cool the edges during baking, allowing the cake to rise evenly.
- Level your cakes after baking by trimming any domed tops with a serrated knife.
- Rotate the pans halfway through baking to ensure even heat distribution.
Remember, patience is key. Rushing the cooling process or skipping steps can result in uneven layers or a cake that falls apart.
Dealing with a Tough or Soggy Bottom
A tough or soggy bottom on a cake can be the result of several factors, from the mixing technique to the baking process. Ensuring a perfect cake bottom requires attention to detail and the right approach.
To prevent a tough bottom, avoid overmixing your batter as it can develop the gluten too much, leading to a denser, tougher cake. Conversely, undermixing can cause a soggy bottom due to uneven distribution of ingredients which may not bake uniformly.
Here are some steps to avoid a soggy bottom:
- Use the correct amount of liquid; too much can make the cake wet.
- Bake the cake until it passes the toothpick test, rather than relying solely on baking time.
- Allow the cake to cool upside down, letting gravity assist in preventing a soggy layer.
Remember, the key to a perfect cake bottom is balance. Too much moisture or uneven baking can ruin the texture, so keep a close eye on your batter consistency and baking conditions.
Applying the Finishing Touches
Choosing the Right Frosting
The right frosting not only adds sweetness and flavor but also enhances the cake’s visual appeal. Choosing the right frosting is crucial for the overall success of your cake. For a classic and versatile option, buttercream is often the go-to choice. It’s easy to flavor and color, making it suitable for a wide range of cakes.
When considering frosting options, texture and stability are key. For a firmer frosting that holds its shape well, especially if you’re planning to pipe designs, a traditional buttercream recipe is recommended. This is particularly important when frosting the entire cake or creating intricate decorations.
Remember to consider the cake’s flavor profile and the event’s theme when selecting your frosting. A delicate cream cheese frosting pairs beautifully with red velvet or carrot cake, while a rich ganache might be the perfect complement to a decadent chocolate cake.
For those who prefer a less sweet frosting, a whipped cream or meringue-based frosting can be light and airy, offering a subtle sweetness that doesn’t overpower the cake. Here’s a simple guide to some popular frosting choices:
- Buttercream: Ideal for piping and layering
- Royal Icing: Best for detailed work
- Fondant: Provides a smooth, elegant finish
- Ganache: Great for a rich, glossy coating
- Cream Cheese Frosting: Perfect for tangy, moist cakes
Decorating Tips for a Beautiful Cake
Once your cake is baked to perfection, it’s time to unleash your creativity with some decorating finesse. A beautifully decorated cake not only looks impressive but can also enhance the overall taste experience. Here are a few tips to help you achieve that professional touch:
- Level your cake layers before frosting to ensure an even surface. This will make your cake not only look better but also more stable.
- Apply a thin layer of frosting around the cake, known as a crumb coat, to trap any loose crumbs. Allow this layer to set in the refrigerator before applying the final coat of frosting.
- Experiment with different piping techniques to add texture and elegance to your cake. Simple techniques like rosettes, pearls, and stars can make a big difference in the appearance of your cake.
Remember, the key to a stunning cake is patience and practice. Don’t be afraid to try new decorating styles or to improvise with the tools and ingredients you have at hand.
When selecting tools for decorating, consider the following essentials:
- Piping bags and a variety of tips
- A smooth icing spatula
- A turntable for easy frosting application
These tools can help you achieve a clean and professional look. Whether you’re aiming for a sleek modern finish or a more rustic charm, the right tools and techniques are crucial. And as the ultimate beginner’s guide to cake decorating suggests, learning the basics like rosettes and pearls is a great starting point for any aspiring cake artist.
Feeling Adventurous? Try New Variations
When you’re ready to step outside the classic cake recipes, exploring new variations can be a thrilling journey. Experiment with different flavors, textures, and techniques to create a cake that’s uniquely yours. Consider incorporating seasonal ingredients for a timely twist or delve into the world of international cuisines for exotic flair.
- Seasonal Ingredients
- Spring: Fresh berries, edible flowers
- Summer: Tropical fruits, light citrus
- Fall: Spiced pumpkin, caramel
- Winter: Rich chocolate, peppermint
- International Cuisines
- French: Lavender, pear
- Japanese: Matcha, yuzu
- Mexican: Cinnamon, chili
Embrace the challenge of new cake decorating trends to elevate your creations. From the elegance of a mirror glaze to the rustic charm of textured frosting, each technique adds a distinct character to your cake.
For those who are truly daring, why not mix and match different styles? Combine a Geode Glam centerpiece with whimsical Watercolor Wonders for a cake that’s as visually stunning as it is delicious. Remember, the key to a successful variation is balance; let your creativity shine, but ensure that flavors and decorations complement rather than compete with each other.
Conclusion
Baking a cake is both an art and a science, requiring attention to detail and a touch of creativity. From loosening the cake immediately after baking to ensuring it cools properly on a wire rack, each step is crucial for achieving the perfect texture and flavor. Whether you’re using the reverse creaming method for an even crumb or flipping your pineapple upside-down cake with ease, remember that practice makes perfect. Don’t be afraid to experiment with different techniques and flavors, and always let gravity work its magic if a layer sticks. With these tips and a bit of patience, you’ll be able to bake cakes that are as delightful to look at as they are to eat. So grab your whisk, preheat your oven, and get ready to create a masterpiece that’s sure to impress at any occasion.
Frequently Asked Questions
How do I loosen a cake from the sides of the pan after baking?
Immediately after baking, use a knife to carefully loosen the cake from the sides while the caramel mixture or other components are still soft.
What’s the best way to transfer a cake from the pan to a platter?
Place your platter upside down on top of the cake pan, then with oven mitts, flip both the cake and the platter over. Leave the cake pan on top for a while so any remaining topping can drip onto the cake.
What should I do if my cake is sticking to the bottom of the pan?
If a cake layer is sticking to the bottom, leave the cake pan upside down and allow gravity to help release the cake.
How do I ensure my cake is perfectly baked?
You can tell a cake is ready when it has risen and feels bouncy to a light touch. If you leave a dent with a light push, it needs more time in the oven.
Why might my pineapple upside-down cake be soggy?
A soggy pineapple upside-down cake can result from not allowing the cake to cool properly, causing it to sweat and become tough or soggy at the bottom. Ensure you follow the cooling instructions carefully.
How do I apply frosting evenly on a cake?
Cool the cake layers completely before frosting. Use a knife or spatula to spread the frosting, starting from the top and working your way down the sides for an even coat.
Auto Amazon Links: No products found.